Showing posts with label design. Show all posts

Monday, July 8, 2013

Painting with Salt

I came across this neat idea that was really simple, and exciting for the kids to do. Basically it is painting with salt. The kids enjoyed watching the colours crawl across their papers and compared the little wiggling lines to fire works. It was lots of fun, not too messy, and a super easy craft to put together.

All you need is:

-Salt (table salt works best)
-glue
-water
-food colouring
-paper
-paint brushes

The first thing we did was take our blank sheets of paper and glue salt all over them.


 While we let our glue dry a little bit we mixed our food colouring in with our water. We used the small dixie cups, and filled them about 3/4 of the way. We used about 2-3 drops of food colouring for each colour.

The kids then started to dip their paint brushes into the different colours and drop the water onto the salt covered paper. The water started reaching across the paper and creating neat little wiggly lines.

In the end the kids started to paint the whole paper by blotting it with the paint brushes. The paintings begin to look like water colours, and the colours belended together to create beautiful designs.

 After we were finished clean up was as easy as dumping the water down the drain, rinsing off the paint brushes, and wiping the table of any excess salt. This is definitely a craft we will be doing again in the future.


Saturday, June 22, 2013

Painting With Condensed Milk

Coming up with new and exciting craft ideas is always a challenge. The kids have done everything several times over, and we don't want to bore them by doing the same thing over and over. So the other day I over heard someone saying that condensed milk dries, and when it dries it stays shiny! I thought this would be the perfect material to paint with, so I stopped in at Walmart and grabbed a can or two!

I started out by mixing a few drops of food colouring into the condensed milk.  I then set out papers and paint brushes, and let the kids create! they loved the face that it was sticky, gooey and oozing all over! When the kids were finished painting I hung the pictures up to dry, We started to notice that the paint was too runny and started to drip, so we took the papers and folded them in half, pressed down and reopened them. This created a mirror affect. Once the condensed milk was dry we hung the paintings on the wall. The kids were very proud of their art work on display, and they thought the glossy shine was pretty cool too!

a few side notes for this craft:

1. Condensed milk doesn't smell too nice. If you want to have a more pleasant smell try adding a drop or two of vanilla or mint extract to each cup.

2. We tried gluing the paintings onto a piece of coloured construction paper, for a "framed" sort of look. The glue ended up soaking through to the condensed milk, and the pictures became runny again.

3. The condensed milk is very sticky. Make sure you have some sort of wipes or wash cloth on hand to wipe the children's hands after.

4. Enjoy the sticky, ooey, gooey messy craft. The kids will love it!


Sandpaper T-shirt Transfers

Father's day is always the one day out of the year that I become completely stumped on what to make for a gift from the children at work. This year I searched through pinterest trying to find something unique and fun for the kids to create. After searching for quite a while I found one idea in particular that I thought would be really cool. The pin was "Sandpaper T-Shit Transfer".

We started off with plain white cotton t-shirts, some regular sandpaper and crayons... Lots and lots of crayons!! First I cut the sandpaper into smaller rectangles. Then the children drew their pictures on the sandpaper, and if they wanted I wrote something cute along side it like "World's best dad
 or "Daddy of the year". Writing the phrases was a bit of a trial and error situation. My boss had pointed out after several of the papers had been written on, that the letters should be written backwards. So some of the kids had to re-do their pictures and I rewrote the phrases. It turns out writing and spelling backwards it a little bit of a challenge.

After all of the pictures were complete I took a piece of cardboard, placed it inside the t-shirt, and positioned the sandpaper on the back of the shirt. I then took an iron and laid it on top of the sandpaper moving it back and forth for a few minutes.After a minute or two I took the iron off and let the sandpaper cool. Once cool I peeled the sandpaper back very slowly.

For the most part the t-shirts turned out pretty good, but there were a few that the kids didn't press hard enough with the crayons, and it turned out looking faded. In the end all of the dads loved their unique custom made t-shirts, which in turn made me one very happy E.C.E.

If I were to rate this pin I would give it a 4 out of 5, solely because the instructions didn't mention that putting more pressure when colouring would give better results. Here are a few pictures of the before and after!! Give it a try and let me know how your sandpaper transfers turned out. Let me know if you enjoyed creating :)


Saturday, June 8, 2013

Painting with bubbles!!

Painting with anything is always going to be a messy craft, especially when children are involved. Painting with bubbles is on a whole new level of messy. However painting with bubbles is one of the most enjoyed crafts that the children have done.

First we started by mixing water soap and a splash of paint in little dixie cups. Then we put long straws into the cups. You must use long straws!! We discovered that if you use shorter straws it will most likely result in a bubbly mustache of sorts. After we figured out or straw crisis, we placed some paper in front of the children and let them go at it.

For the most part there was lots of giggles, paint spillage, and miniature lakes forming on the table. But every once in a while you get the child who we refer to as "the sipper". Instead of blowing bubbles, this child will suck the concoction of paint, soap and water up through their straw and instantaneously react as anyone would. By freaking out and spitting the disgusting mixture out everywhere!

After a few attempts at making bubble art, we found the mixtures to be a bit too watery, so the children figured out a new method of painting. They would dip the end of the straw in the mixture, take the straw out, point at the paper, and blow. This would result in wonderful little spatters of colour and bubbles everywhere. The children had so much fun, but this is definitely one craft I would recommend for outside!!


Making Rainbows On A Rainy Day!!

On Thursday it was a bit of a rainy day. Rain, hyper children, and indoors don't usually mesh well, so we decided to do a rain themed craft. The children really enjoy anything that involved glue and different colours. We decided that a rainbow would best fit our theme. We gathered some cotton balls, paper plates, construction paper ( Red, Orange, Yellow, Green, Blue, and Purple), glue, and scissors.


  1. Start by cutting the paper plates in half to make our base for the clouds.
  2. Pull cotton balls apart slightly so they are puffy and look like clouds.
  3. cut construction paper into 1-1 1/2 inch strips for you rainbow rays
  4. Set materials out and let the kids create.
The children really enjoyed sticking the cotton balls on the paper plates. They found it impressive how much it actually looked like clouds. The children weren't familiar with R.O.Y.G.B.V ( order of colours in a rainbow) so we taught them a song to help them remember as they glued the construction paper.

RED, it's the colour of an apple
ORANGE, it's the colour of an orange
YELLOW, it's the colour of a lemon, and the sun...sun...sun
GREEN, it's the colour of the trees and lots of things that grow
And then theres BLUE for the sky
And PURPLE that's a colour that's fun...fun...fun
Now when we put those colours side by side, now what do you think we've done?
We've made a rainbow, and it's a very beautiful one!

The song was a huge hit, and so was the craft. Below are some pictures of the children making their rainbows. Try it out with your kids, and let me know how they turned out!


Friday, May 3, 2013

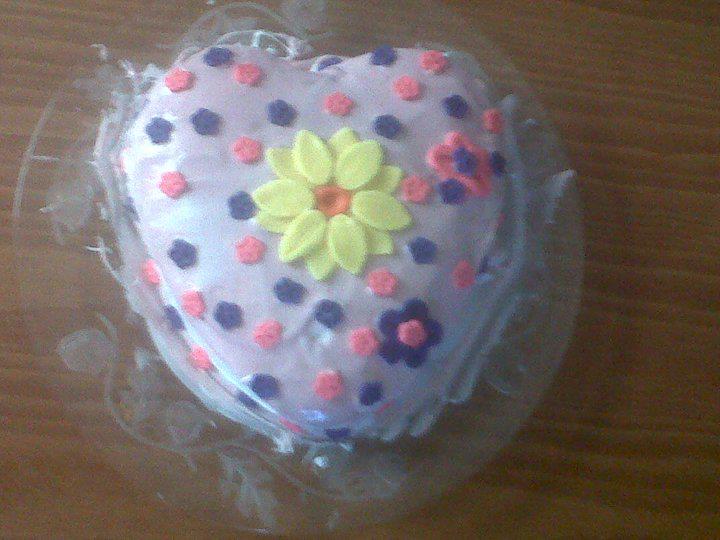
My Passion... Baking!!!

I wanted to share something with you guys that would maybe help you get to know me a little bit. My passion in life is baking. I love being able to take a cake and turn it into something really beautiful, or different. Baking is also some what therapeutic for me. When I have a flair up from my arthritis and my joins are hurting, and my body is tired, I like to go to the kitchen and bake. It takes my mind off of the pain for a little while, and thinking of ways to create something from the cake helps defog my brain for a bit. My boyfriend, family, and friends have bought me all sorts of things to encourage me to keep baking. Last Christmas my boyfriend Erik bough me an electric mixer, so I didn't have to use my hands. My mother-in-law is always gifting me really neat things like silicone cupcake liners, baking trays, decorations, and baking cook books. My mom is always buying me new stuff! Just a few weeks ago she bough me a pie pop maker. You take pie crust, cut it into little circles, put your filling on one of the circles, cover with another circle  seal and place in the machine. They turn out to be little itty bitty pies, and they are really yummy!!

I want to share with you just a few of my creations!! Let me know what you think.